Stop Crime Before It Starts:
Tech Security, LLC’s Camera Philosophy
& Field Tips
Our mission: deter first, record second
At Tech Security, LLC, our first priority isn’t just collecting footage after an incident—it’s shutting down criminal intent upfront. Offenders look for easy, low-risk targets. When protection is clearly visible, they naturally shift to less protected properties. The question is: how smartly do you stage visible deterrence?
The 3-Layer Deterrence Plan (Front–Side–Rear)
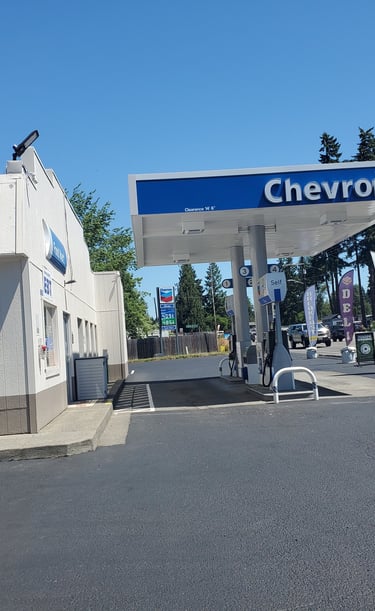
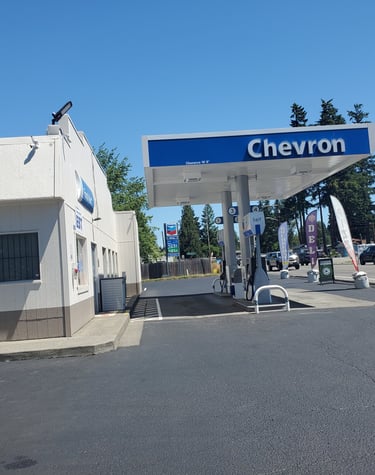
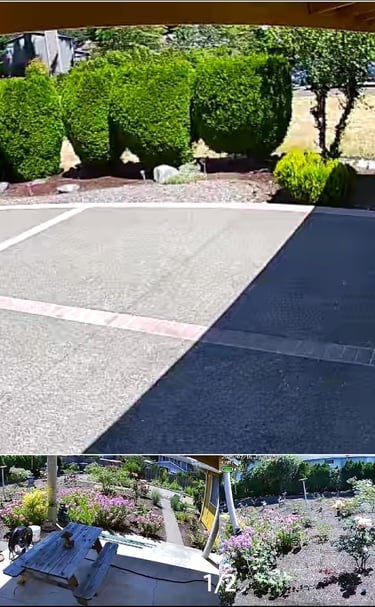
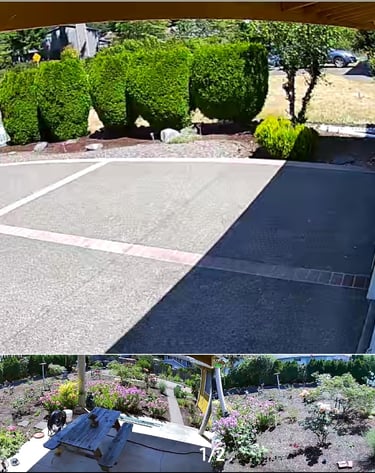
Front: Face capture + warning signage
Place a camera where faces are captured clearly at the main door/entry.
Keep the housing visible and post “CCTV in operation (audio/warning lights enabled)” signage.
Tip: mount at 2.5–3.5 m and angle 10–20° off the approach so face–hands–objects sit in the same frame.
Side: Motion-activated flood lights for surprise
Use motion-sensor flood lights on side paths/side doors.
If your cameras support warning lights, turn them on to cut dwell time.
Set detection slightly wider than the path so even glancing passes trigger light.
Rear: Alarm + light to kill concealment
For rear/screened areas, enable camera siren/voice prompts to break cover immediately.
Favor wide angle + color-at-night (white light) to expose concealment and tampering.
Summary: Front = presence & face ID, Side = surprise lighting, Rear = alarms. Tie them together so your site is not an easy target.
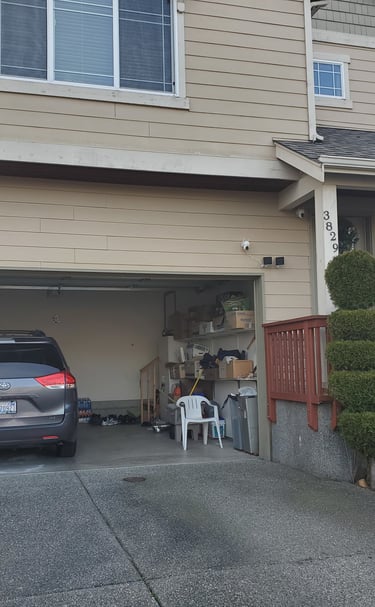
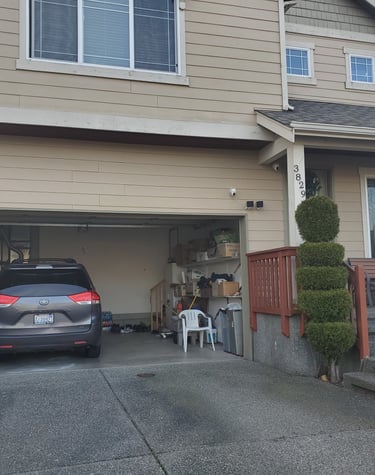
The uncomfortable truth: hard vs. soft targets
On the same street, properties with visible cameras, lights, and signage look high-risk to offenders. Homes/shops with no visible protection look easier. Make cameras, warning lights, and signs intentionally visible to shift target selection away from you.
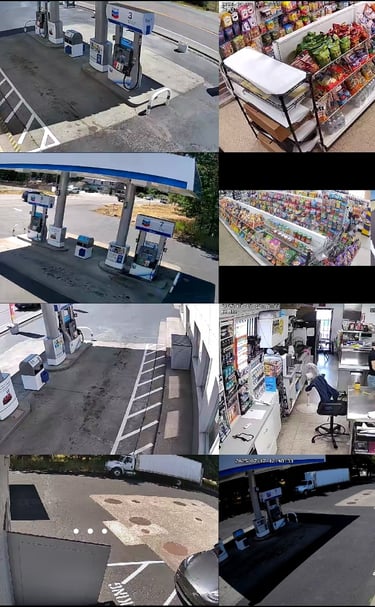
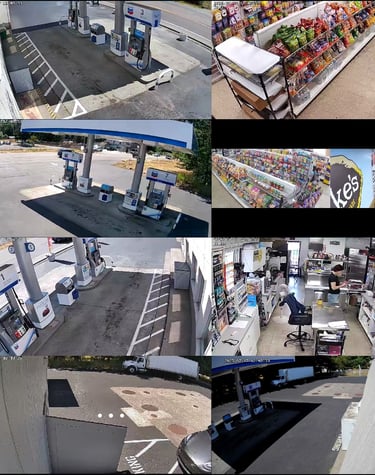
Retail success = placement + angle
Don’t rely on a single corner cam. Corner-only views may let shoplifters turn their backs and pocket items out of view.
Around high-value/small/easy-to-pocket items, combine front + diagonal + top-down views to follow hands, packaging, and bag movement.
From 2.5–3 m on the exit wall angled toward the door, you capture movement flow + face together.
At POS, tune lens (e.g., ~4 mm) and height so cash tray/cards/change are in frame.
Place “Recording in progress” signs where eyes land—handles, gates, premium corners—for stronger psychological deterrence.
5 common failure patterns
Cameras mounted too high → no faces, only heads.
Backlight/window glare → silhouettes instead of IDs.
Motion sensitivity set too low/high → missed events or alert fatigue.
Flood light beam ≠ camera view → bright light, dark footage (or blown highlights).
No retention policy → recordings overwritten before you need them.
On-site checklist (save this)
Apply the Front–Side–Rear three-layer plan
Place motion flood lights on side/rear approaches
Prefer cameras with warning lights / voice alarms where possible
Re-aim cams at high-risk corners (small, high-value, easy-to-pocket items)
Post monitoring/recording signs in multiple sightlines
Test day/night for glare and reflections
Document retention & export procedures (incident playbook)
Contact Tech Security, LLC
Home Security Systems
We design and install tailored security camera systems to protect your residential and commercial properties.
Motion Sensing Lights
Our motion sensing lights provide added security and visibility for both residential and commercial spaces.


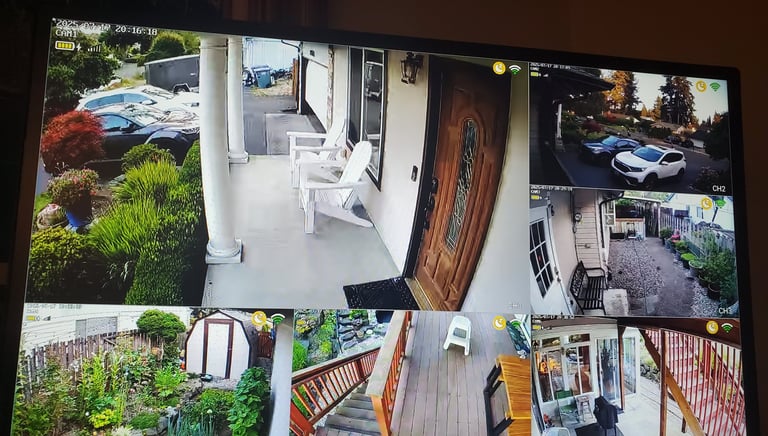
Camera Gallery
Explore our security camera installations for homes and businesses.